
I created this watermelon theme on my nails by special request from a fellow PH'er. I was going to do a tutorial but then I forgot to take pictures of every step. Fail. lol. So here are some pictures that I managed to capture. I will explain everything else.
Watermelon Nail Tutorial:
1. Start off with clean nails. Soak cotton ball in nail polish remover and remove any old polish/oil/lotion etc. off of all nails
2. Apply 2 coats of your choice base coat
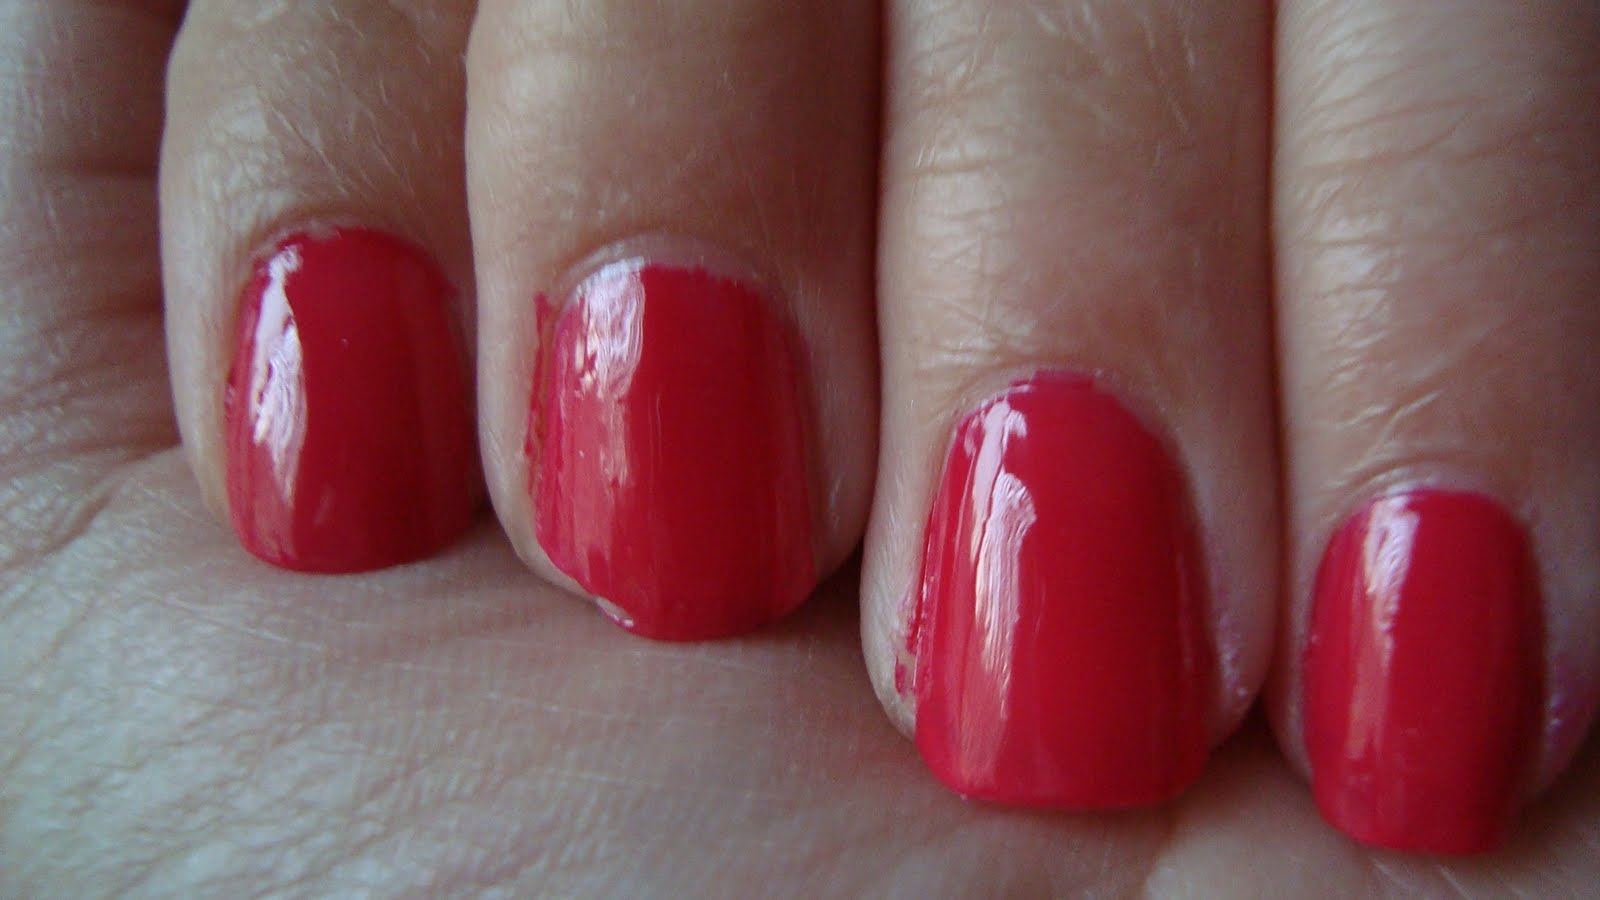
3. Apply 2 coats of hot pink/fuchsia nail polish
(I used Sinful Colors #395 Folly)
My middle finger nail got snagged over the wknd so I had to fix it the best I could :(
4. Using a fine brush, apply dark green french manicure tip to nails
(I used LA Colors Art Deco Nail Art Lacquer in Bright Green- $1 each)
5. Separate the pink from the green with a white stripe
(LA Colors Art Deco Nail Art Lacquer in White)

6. Using a nail dotting pen, draw and paint light green stripes on green tips going down.
(Sinful Colors #944 in Innocent)
7. Using a slimmer nail dotting pen, make black seeds on nails with black nail polish
(LA Colors Art Deco Nail Art Lacquer in Black)

Start off with a dot, then flick pen downwards to create a pointed seed. Practice first on scratch paper if you're not as confident. ;)
8. Let DRY
9. Optional- 1 coat of glitter nail polish over top
(NYC #146A Love Letters)
10. 2 coats of clear top coat to seal everything in
TA-DA!


I hope you get inspired by this fun fruity look! Take care!
Mouthwatering nails,
Cherrie
No comments:
Post a Comment